Create your Prime Contract
To create a progress invoice, you’ll first create a Prime Contract from the Prime Contract tab in your project.
When you select Progress as the contract type, Beam automatically uses your estimate data to pre-fill the contract. Line items, groups, and structure carry over so billing aligns with how you estimated the job.
If you hid pricing for groups, sub-groups, or specific line items in your estimate, those amounts will not populate into the Prime Contract or invoices. This is intentional — Beam assumes that if pricing was hidden, it’s not something you want to share on invoices.
Save your Prime Contract
Once you’re satisfied with the contract setup, save it. You’re now ready to create invoices against it.
Create a progress invoice
From the Invoices tab, create a new Progress Invoice.
When creating a progress invoice, you can set a due date and payment terms. For each line item, you can bill using either a dollar amount or a percentage of completion. Beam automatically calculates totals based on what you enter.
What are the benefits of invoicing via Beam?
- Beam allows you to send professional invoices to your clients and collect payment in a secure and accelerated fashion.
- Customers can pay via credit card (you can pass along the processing fee) or ACH.
- Once you’ve sent an invoice, you can track email views and page opens, follow up with reminders, and be automatically notified when payment starts and is deposited into your account.
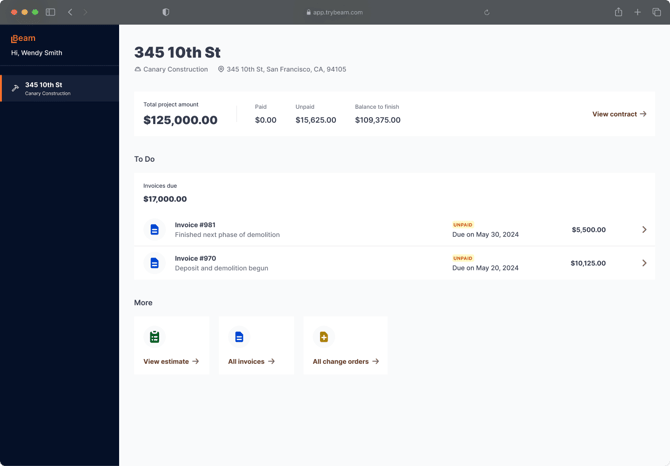
- On the client side, they’ll be able to see a portal (see below) with project financials and change orders without signing up or logging in.